I am trying to send a daily report of every product in our shopify store that has an available inventory of less than ten. I went through all of the steps to set up the Gmail module (redirect URLs, APIs, etc.) but have never successfully gotten one sent.
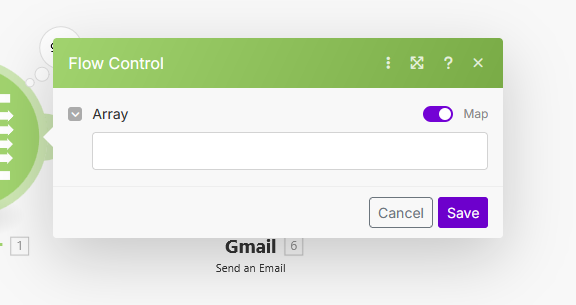
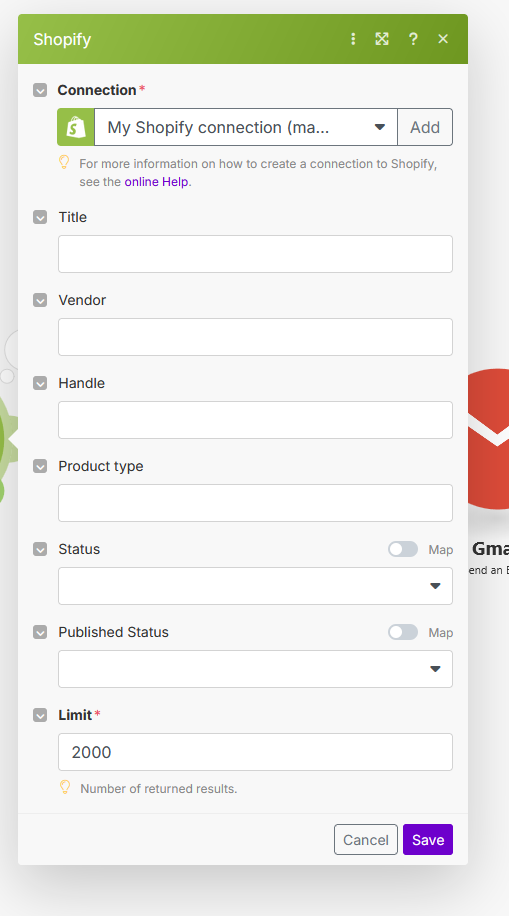
Here is how the scenario is set up
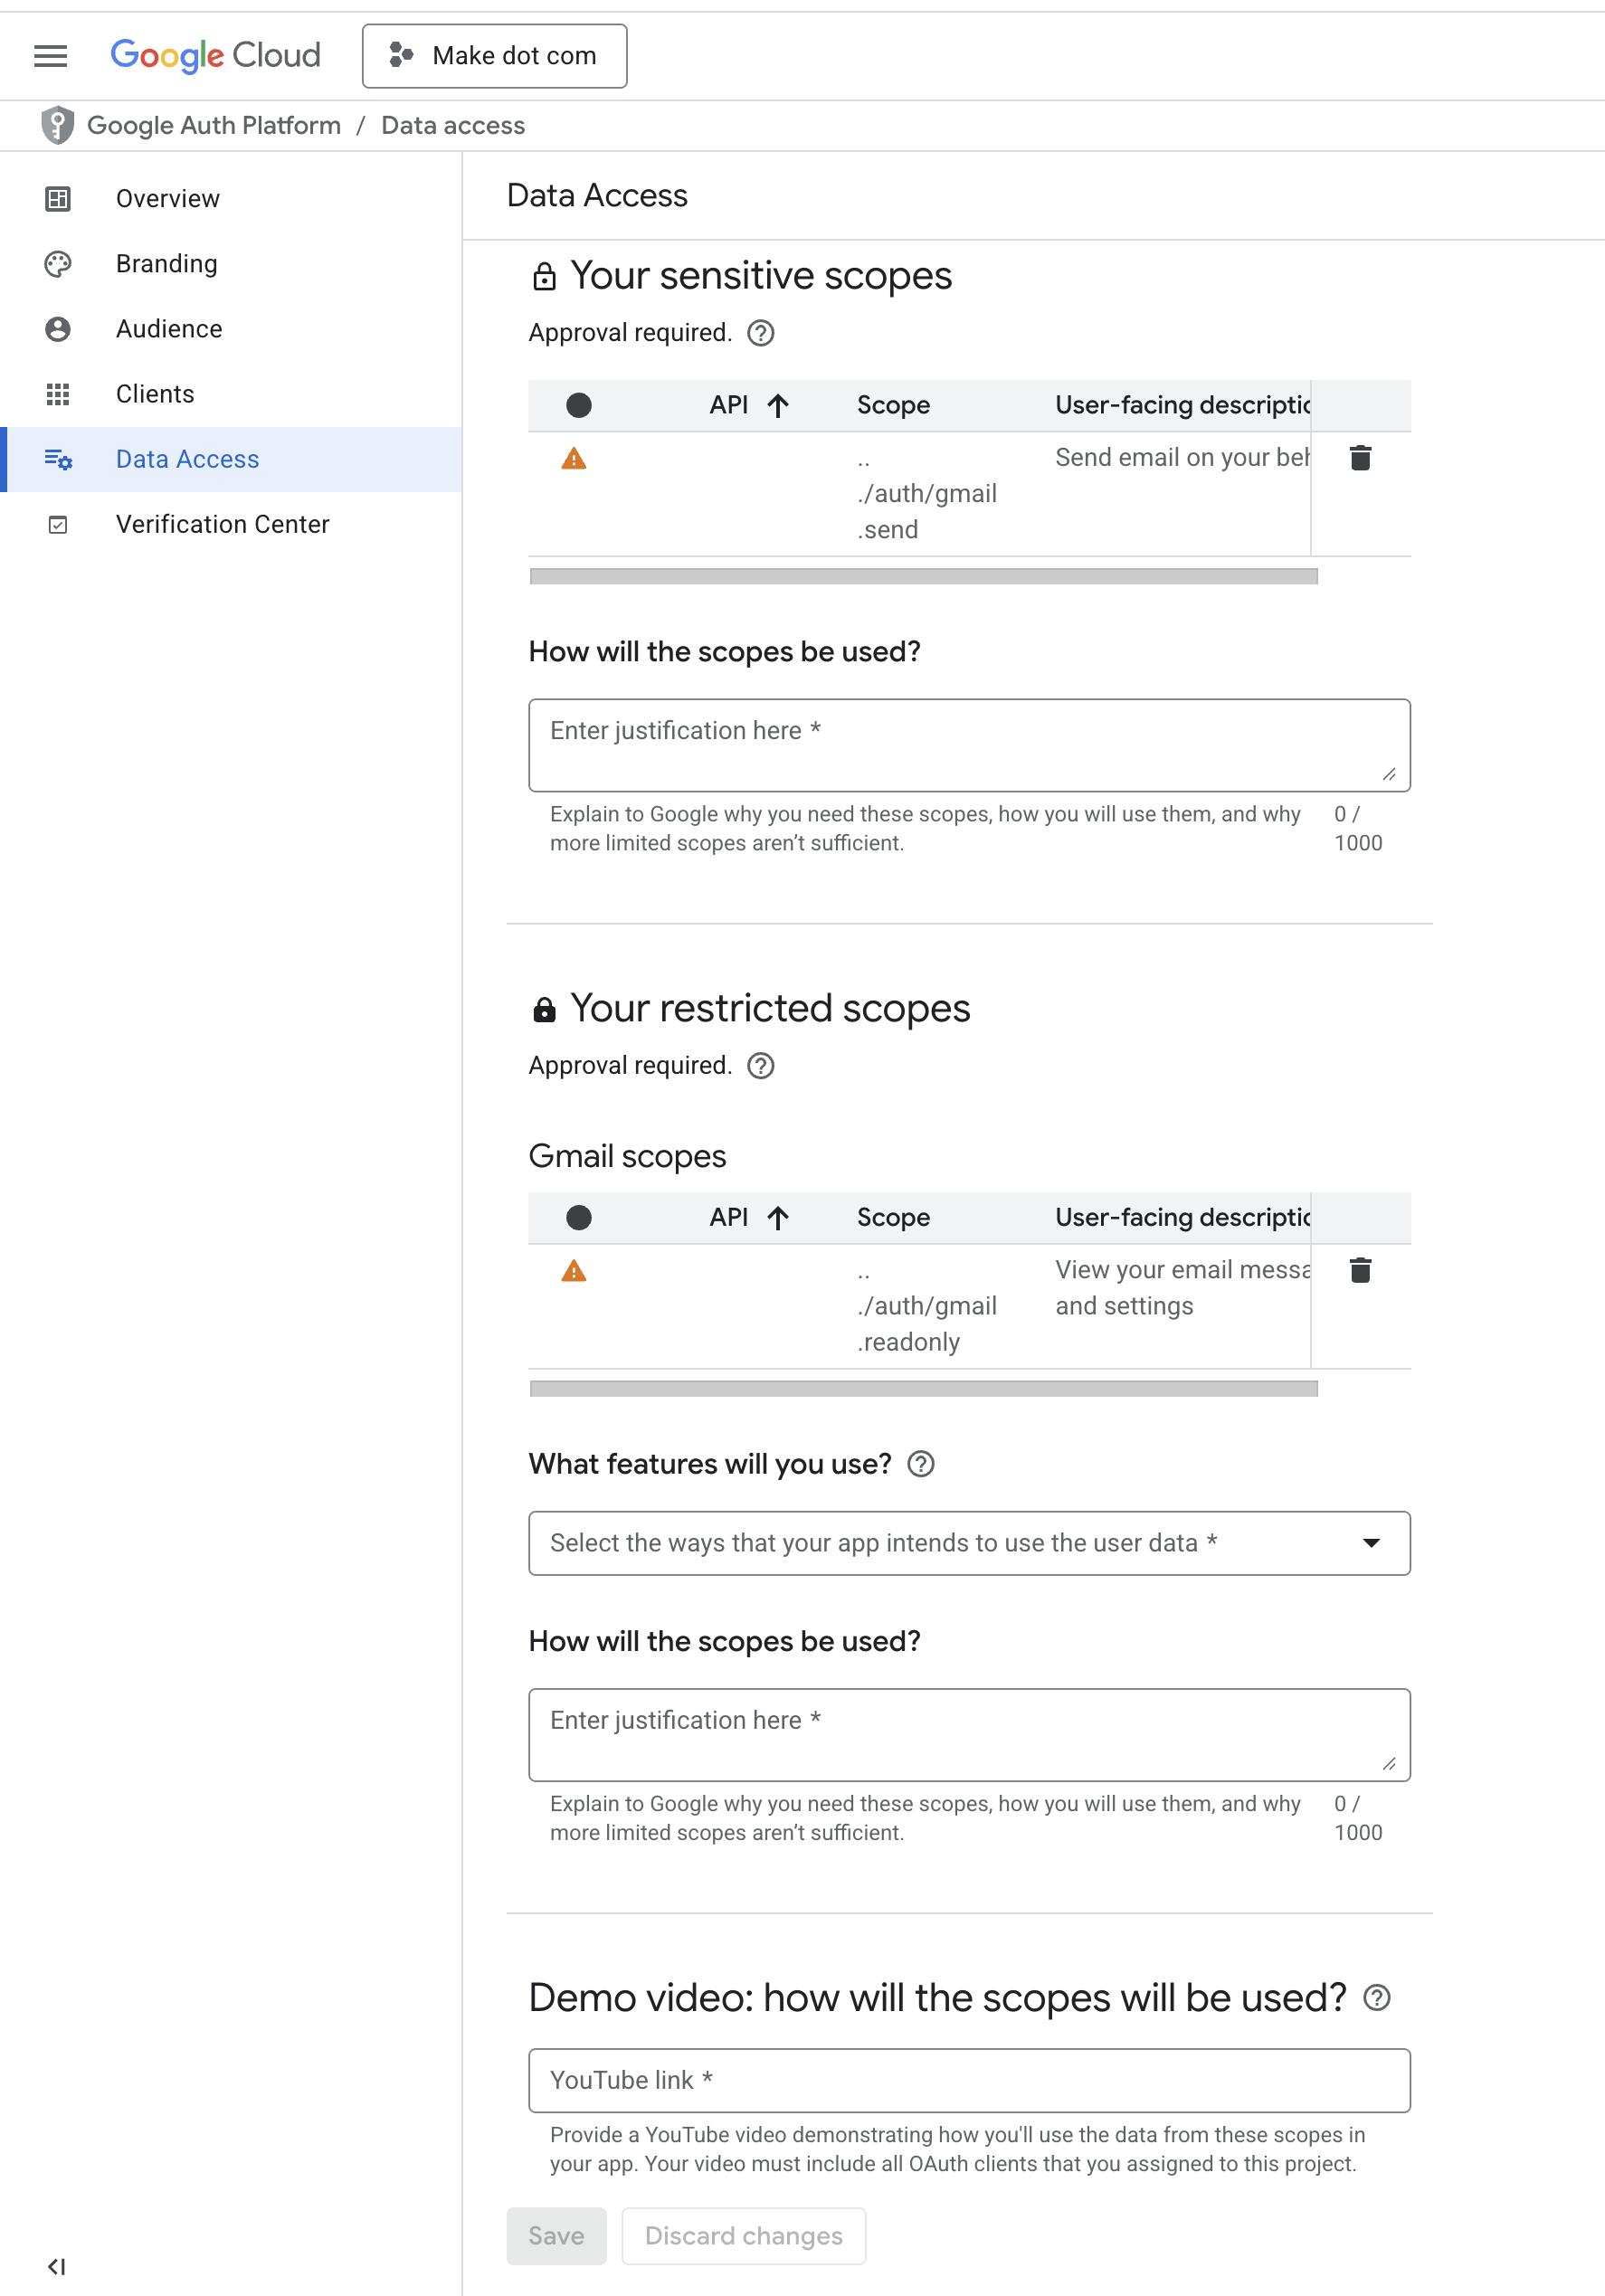
Like I said, I went through all of the steps to get authorized by Google but it is asking for this:
What should I put for this?
Does everything else look good if this gets filled in?
Thanks for your help!
1 Like
Hi @SF_School
Make has updated the Gmail module. Search for the new Gmail module. Try automating with that module. This might solve the issue.
Best regards,
Msquare Automation
Platinum Partner of Make
@Msquare_Automation
I just created this scenario yesterday. Was it updated since then? It seems to be the most up to date module
Google is also asking for the following information. It seems as if it assumes I am a third party and requesting reasons as to why I need access to my own email account.

Just a quick hint: you might have to upgrade the module soon. The external service has released a change to their API for this module, so Make has released a new version of the module to match the new features.
An older module version may not work soon as older API versions can be removed any time by the external service, and cause unexpected errors in your scenario. Upgrading the module as soon as possible gives you time to test and adjust to the new changes.For more information on upgrading your modules, see Replacing Legacy Modules with New Modules — Make Help Centre.
How to Connect and Use Google APIs in Make!
0. Prerequisites
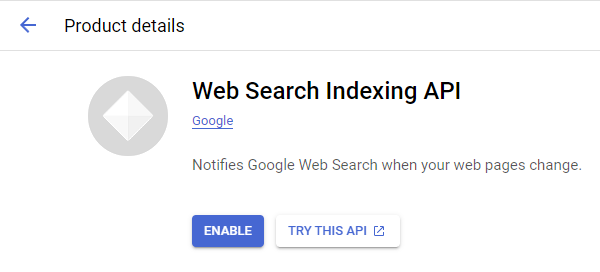
1. Enable Google APIs
2. OAuth Client
Direct Link: https://console.cloud.google.com/apis/credentials
-
2a. Create “OAuth client ID” Credentials
-
2b. Insert all the Google Redirect URIs for your app
Insert All Google Redirect URIs
Here are some commonly-needed redirect URIs you need for your Google Cloud Console OAuth app. If you set these up, you can reuse the same GCP app for other Google apps and modules on Make.
https://www.make.com/oauth/cb/oauth2
https://www.make.com/oauth/cb/google
https://www.make.com/oauth/cb/google/
https://www.make.com/oauth/cb/google-custom
https://www.make.com/oauth/cb/google-restricted
https://www.make.com/oauth/cb/google-cloud-speech
https://www.make.com/oauth/cb/google-search-console
https://www.make.com/oauth/cb/google-analytics-4
https://www.make.com/oauth/cb/google-ads2
https://www.make.com/oauth/cb/google-ads2/
https://www.make.com/oauth/cb/youtube
https://www.make.com/oauth/cb/chrome
Including These Google Redirect URIs
You are also required to insert the legacy URLs below from the old Integromat system that not been migrated to Make yet (same as the above list, but replace “make” with “integromat”):
https://www.integromat.com/oauth/cb/oauth2
https://www.integromat.com/oauth/cb/google
https://www.integromat.com/oauth/cb/google/
https://www.integromat.com/oauth/cb/google-custom
https://www.integromat.com/oauth/cb/google-restricted
https://www.integromat.com/oauth/cb/google-cloud-speech
https://www.integromat.com/oauth/cb/google-search-console
https://www.integromat.com/oauth/cb/google-analytics-4
https://www.integromat.com/oauth/cb/google-ads2
https://www.integromat.com/oauth/cb/google-ads2/
https://www.integromat.com/oauth/cb/youtube
https://www.integromat.com/oauth/cb/chrome
Note 1: Due to inconsistencies in Make’s implementation of the connections, there are two separate entries where has one is google and another ending in a forward slash google/ - you might need one or the other, so we have to use both!
Note 2: Once you’ve set these up, you can use/reuse the same Google OAuth App ID + Secret for all the supported Google connections and modules on Make - you’ll just have to enable the relevant Google APIs!
3. OAuth consent screen
Direct Link: https://console.cloud.google.com/apis/credentials/consent/edit
-
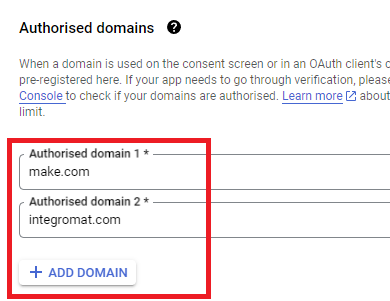
3a. Insert Two Authorised Domains
-
Insert make.com and integromat.com
-
Fill in other required fields
-
Click “Save and Continue”.
-
3b. Add All Scopes
-
Click “Add or Remove Scopes”
-
Select 100 “Rows per page”, for each page, check all the rows, OR
-
Manually type in the scopes you need
-
Click “Update” at the bottom
-
3c. Step through and go to dashboard
At the last step/page, click “BACK TO DASHBOARD” instead of “Prepare for Verification”

-
3d. Publish your GCP OAuth2 app
You will need to set your OAuth application to “Production”, otherwise the credentials expire very frequently.
-
To do this, go back to “OAuth consent screen”
-
Then click the “PUBLISH APP” button
-
Then click the “CONFIRM” button
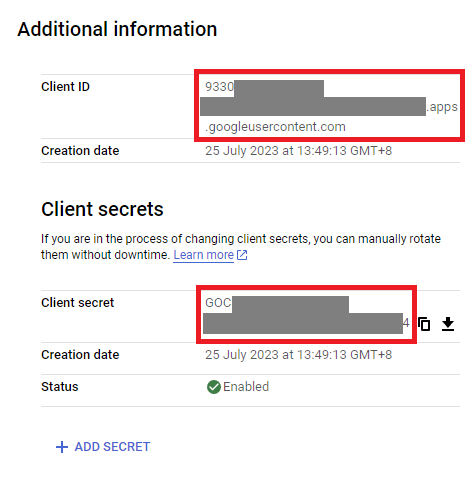
4. Create New Connection (HTTP, or respective Google module)
You can find the Client ID and Client Secret in the OAuth2 app you created in GCP, on the right-hand side of where you inserted the callback URLs in step 2:
Related Topics:
Hope this helps! Let me know if there are any further questions or issues.
— @samliew
2 Likes
I had already done all of this.
Have you ever had Google ask the questions about why I need access to certain Scopes? I included a screenshot in a comment above.
And as for needing to update the module, this is all being done with the new module, as far as I am aware. I created it the day before I posted this question
Bump just to see if anyone has any thoughts on this?
Any help would be so appreciated! This has been baffling to me.