I’m trying to connect my GHL calendar to Make. Since the GHL modules in Make do not include GHL calendar scopes I’m trying to use the HTTP Auth2 Module.
This is what I’m pasting into the Authorize Url field: Marketplace? response_type=code& redirect_uri=https://www.make.com/oauth/cb/oauth2& client_id=6632800c…& scope=calendars.readonly calendars.write
I also tried https://www.integromat.com/oauth/cb/oauth2
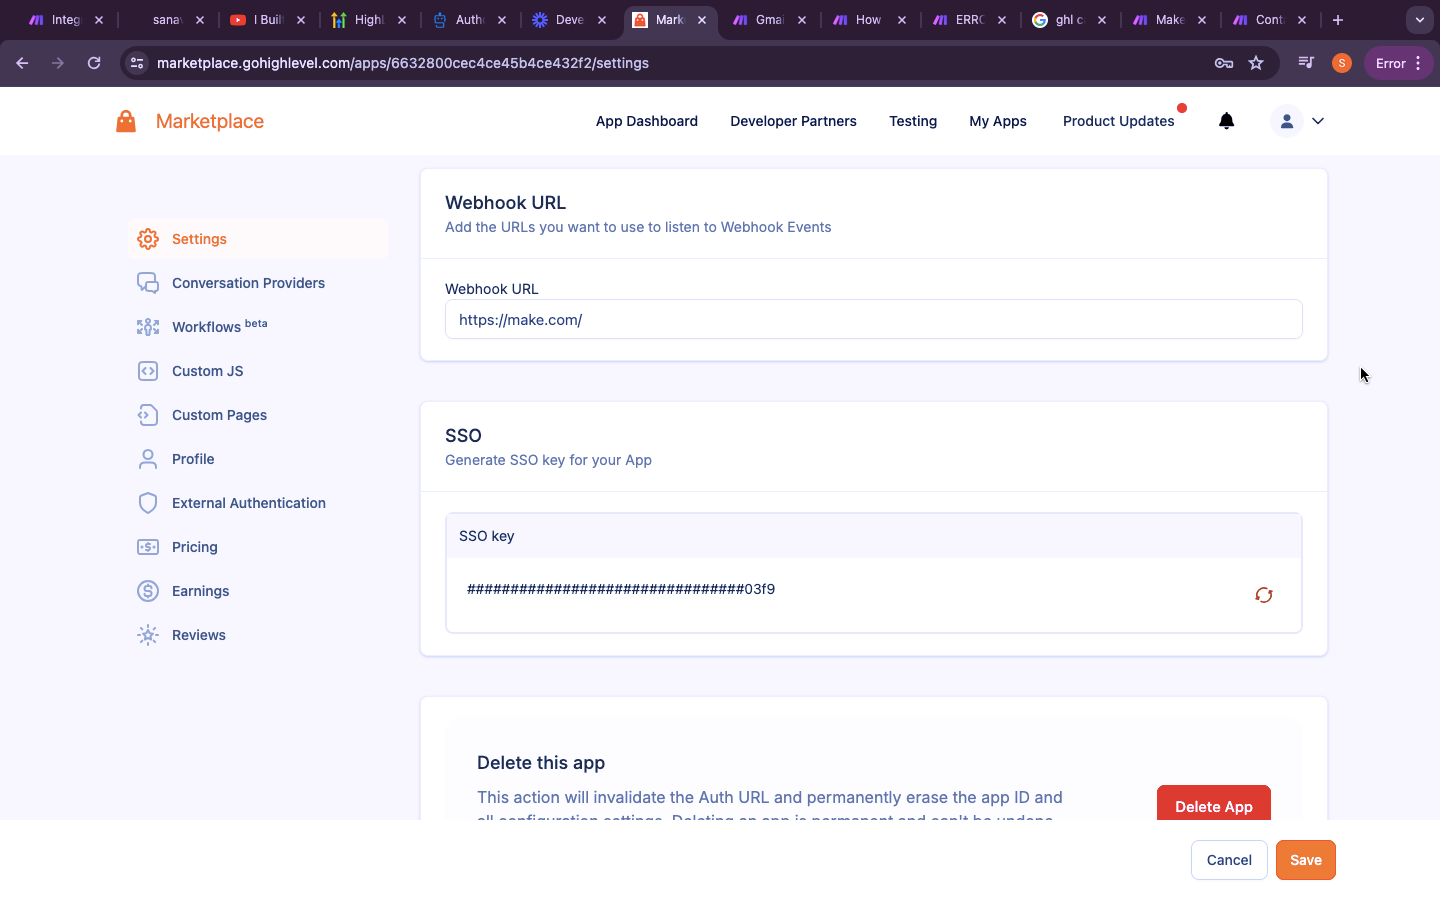
In the screenshots you can also see how I set up the app in GHL Marketplace.
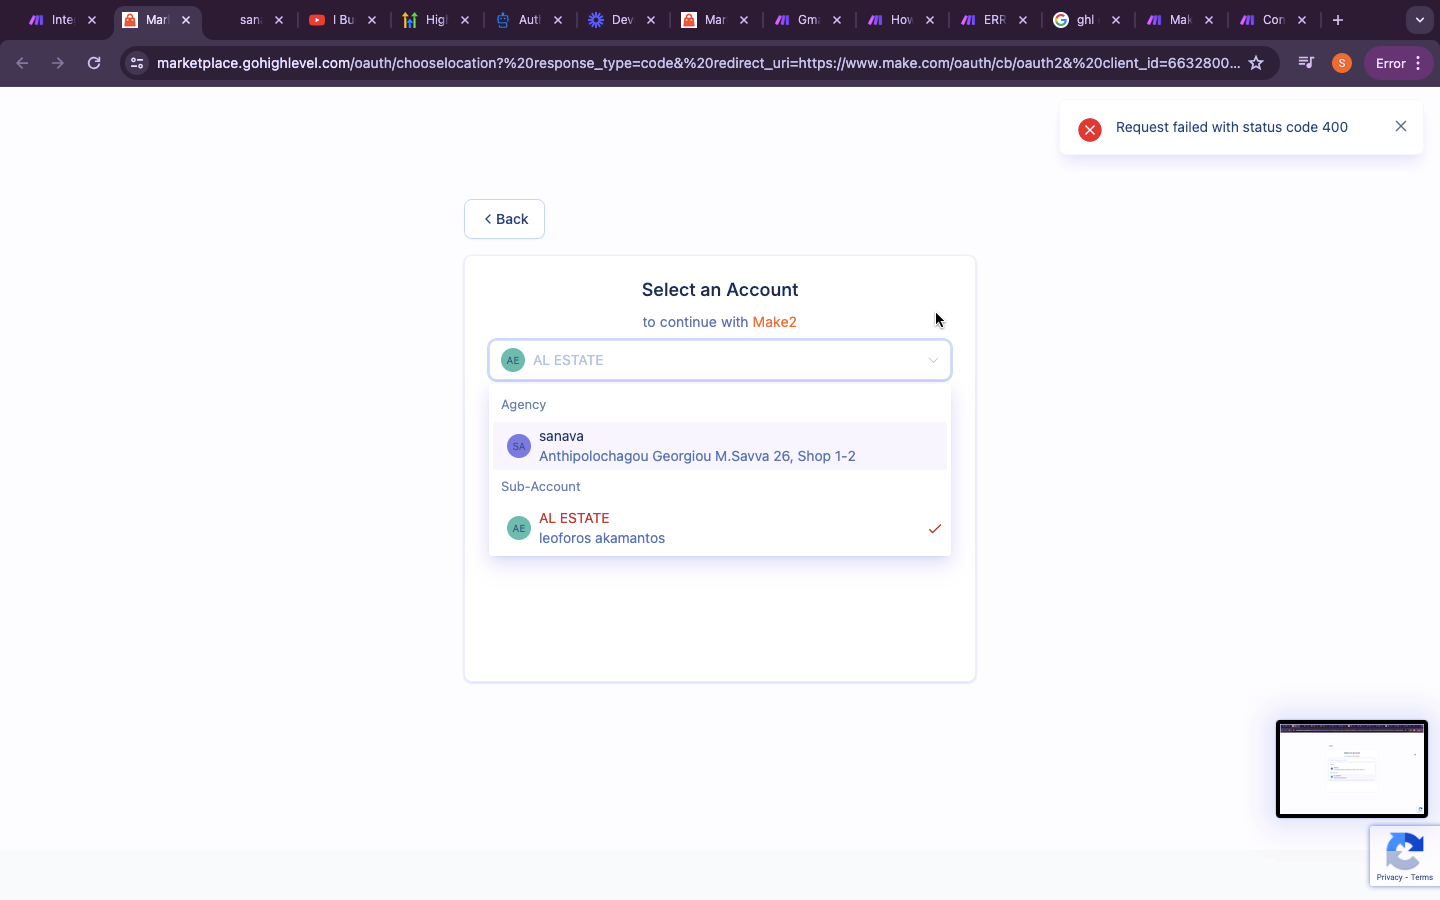
I’m getting a 400 error. What is the problem here?
Hey @NunuNana
I think the problem is in Scopes
you should Add “calendars.readonly” and “calendars.write” in the scope.

2 Likes
I dont think thats the problem. The scopes are included in the url (see above).
No, you did not add the scopes to the connection in Make.
You added the possible scopes to the custom GHL app, but when you created the connection in Make, by leaving the scopes empty, you are basically telling your custom GHL app: I don’t need any permissions for this connection even if you support it.
The requested scopes should be added to the connection so that the relevant permission request can be displayed to the user.
The redirect URL only happens after the permission request step, so by adding the scopes there it is too late.
3 Likes
Ok but still not working. It’s giving 400 error.
Struggling with the same thing, custom http module oauth2 isn’t working with GHL marketplace app.
Has anyone cracked this issue yet?
@NunuNana @lazmo88
Alright, for everyone trying to add the GHL OAuth 2.0 connection:
- Create private app on GHL Marketplace
- Add scopes, client key, etc.
- Redirect URL should be set to https://www.integromat.com/oauth/cb/oauth2 (not make.com)
- On Make, add the OAuth 2.0 module and click on ‘Add a Connection’
- Authorize URI should be set to https://marketplace.gohighlevel.com/oauth/chooselocation
- Token URI should be set to https://services.leadconnectorhq.com/oauth/token
- Add scopes, make sure there are no typos
- If adding multiple scopes, click on ‘Show advanced settings’ and set the scope separator to SPACE
That’s it. No need to add Authorization header, refresh the token every 24 hours, etc.
4 Likes